Authentication
Every request to Obsivara uses a Bearer token. This page explains how to create a key, which scopes to choose, and how to rotate or revoke it.
Create an API key
- Open the Obsivara dashboard.
- Navigate to Settings → API Keys.
- Click New key.
- Choose the scope that matches your use case (see Scopes below). For sending events, choose
ingest:write. - Copy the generated secret — it starts with
obs_live_and is shown only once.
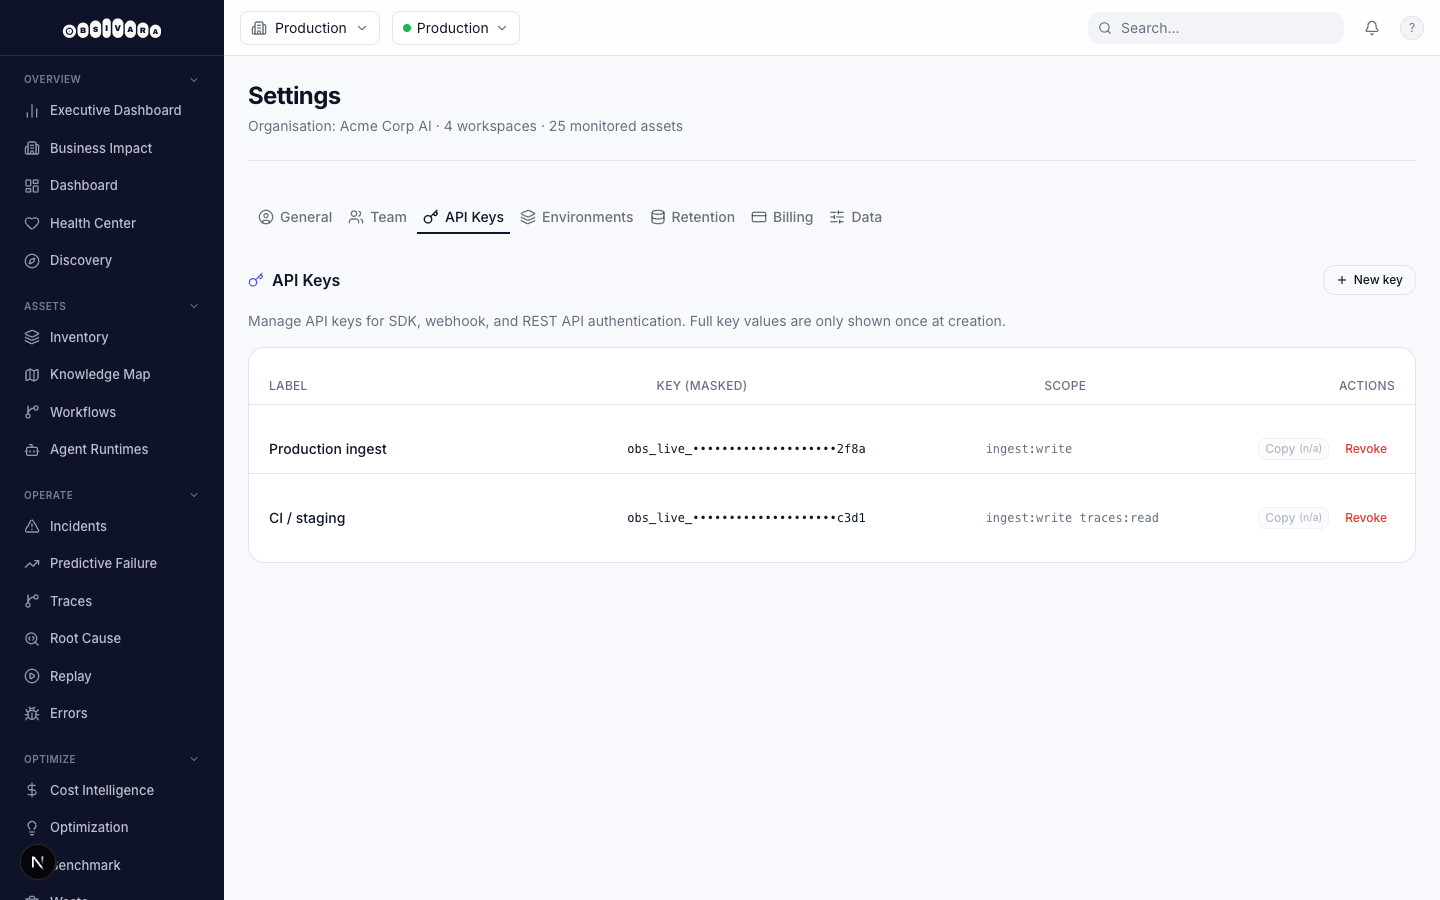
The key secret is shown only at creation time. Copy it immediately — you cannot retrieve it afterwards. If you lose it, delete the key and create a new one.
Use the key
Pass the key as a standard HTTP Authorization Bearer token on every request:
Authorization: Bearer obs_live_...A missing or invalid token returns 401. A valid token that lacks the required scope returns 403.
Scopes
Scopes limit what a key can do. Issue the narrowest scope your integration needs.
| Scope | Access | Notes |
|---|---|---|
ingest:write | Send events to /ingest/* | Default for monitoring integrations — use this for webhook, OTLP, and SDK calls. |
read / read:all | Read data from /v1/* | For querying runs, assets, and analytics. Keys with only ingest:write are correctly rejected (403) on /v1/*. |
admin / * | Full access | Use with care — allows both ingest and data API. Appropriate for trusted server-side integrations only. |
Rotate & revoke
To rotate a key: create a new key with the same scope, update your integration to use the new key, then delete the old one from Settings → API Keys.
Deleting a key takes effect within approximately 5 minutes due to the server-side cache TTL. Requests using the deleted key will return 401 once the cache expires.
If a key is compromised, delete it immediately. Any in-flight requests using it will fail within 5 minutes without any action on your part beyond deletion.